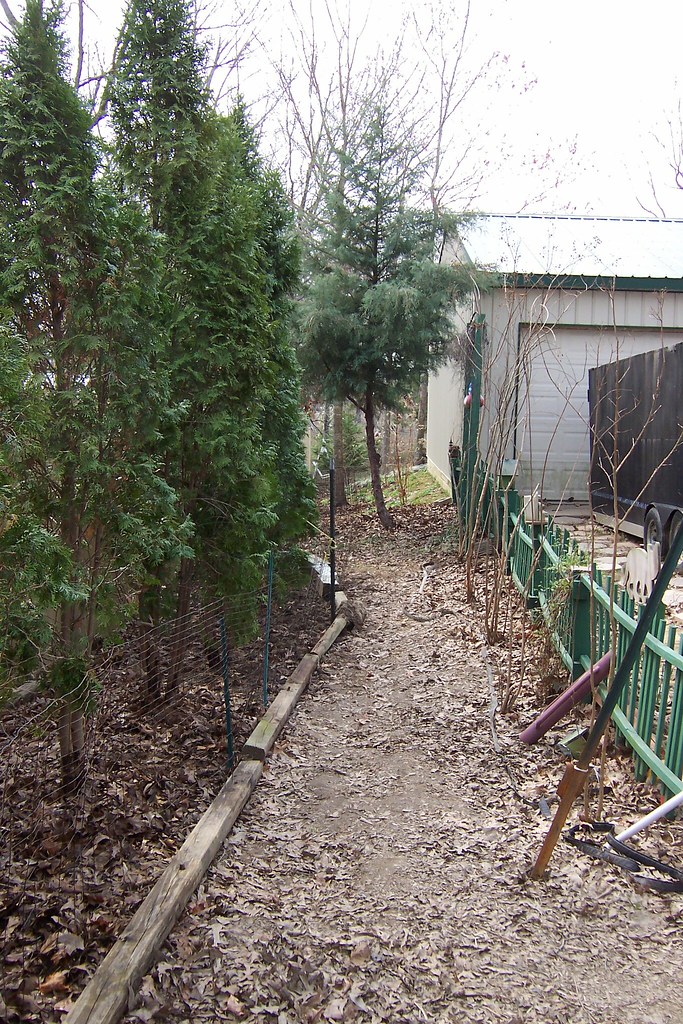
By SKEETER I have not really talked much about the new additions to my Georgia Gardens. I did show you the new arrivals from the McCorkles Nursery sale back in June. The steamy days of summer were in place by June when the sale occurred. Above picture was taken a month later in steamy, hot, humid and dry drought conditions. Those were all Dirty Words this year as it was brutal on a gardener. This new area holds 3 Evergreen trees. They are located to the back of this new garden area. I shall talk about the other additions at a later date. As you can see, I had to resort to setting up a Sprinkler to keep the trees moist. They were holding their own, until we jump forward to September.
  Two of the three are not looking so well now.
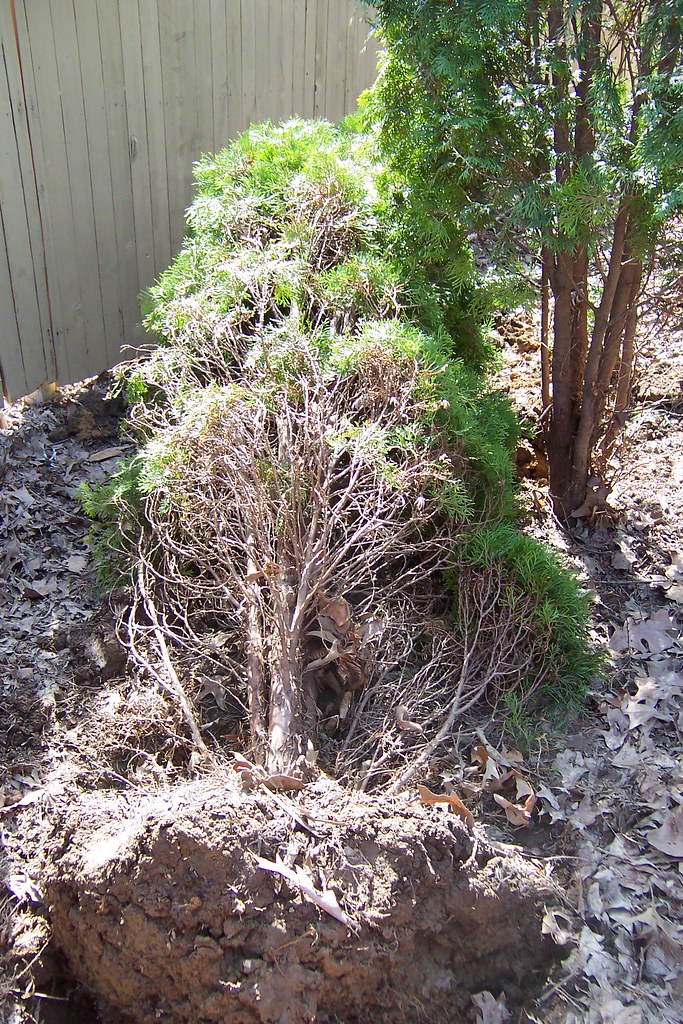
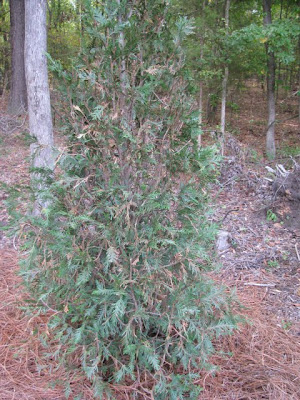 This Arborvitae Green Giant started out as a 15 gallon pot of beauty at the bargain price of $15.00. It is now turning brown as if on fire and dying on me! I have brushed out the dead and am left with a sparse tree. Sigh...
 This one is smaller because it is not a Green Giant but rather a Leeland Cypress. It was a 10 gallon potted tree at the cost of $10.00. The poor thing looks so puny now. Sigh...
 The third in this group is another 15 gallon Green Giant and it is happy as can be!
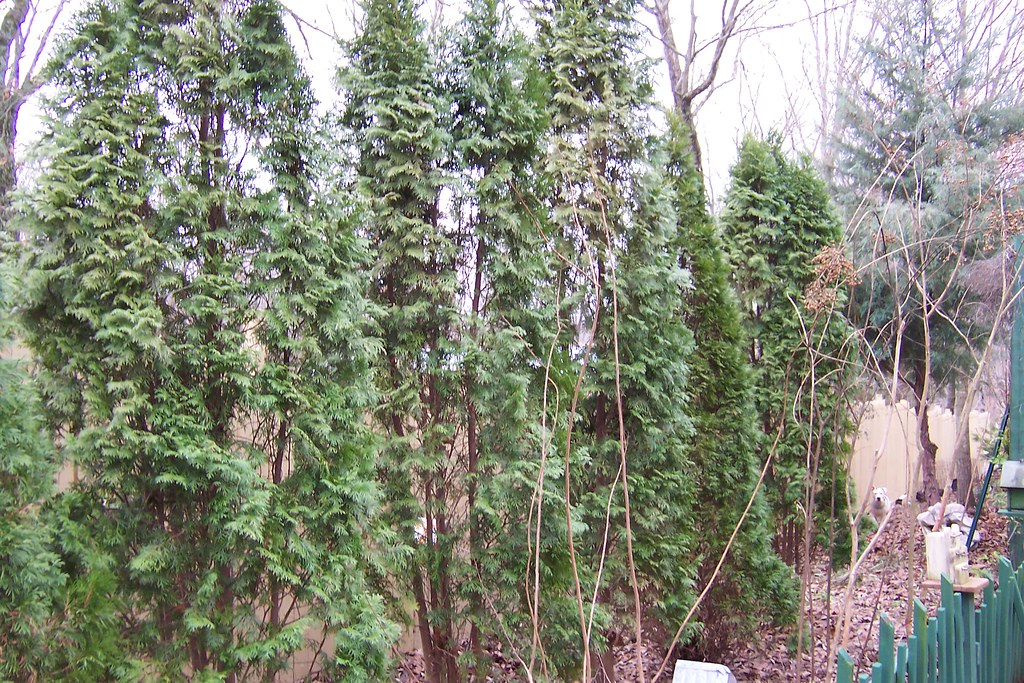
  This grouping of 3 Green Giants that are located nearby, received more direct sun and were watered the same amount as the others. Thus far, all three of them look fine. This past weekend, I added fresh compost and a layer of pine straw mulch to all the trees. I am hoping that with cooler temps in the air, that maybe the two will bounce back. But just in case they do not, I am planning on picking up 2 replacements at this weekends Big Sale. That is, if they happen to have any available. Poor GREEN GIANTS, whats going on? In the Garden...Words and Photos Property of In the Garden Blog Team, In the Garden
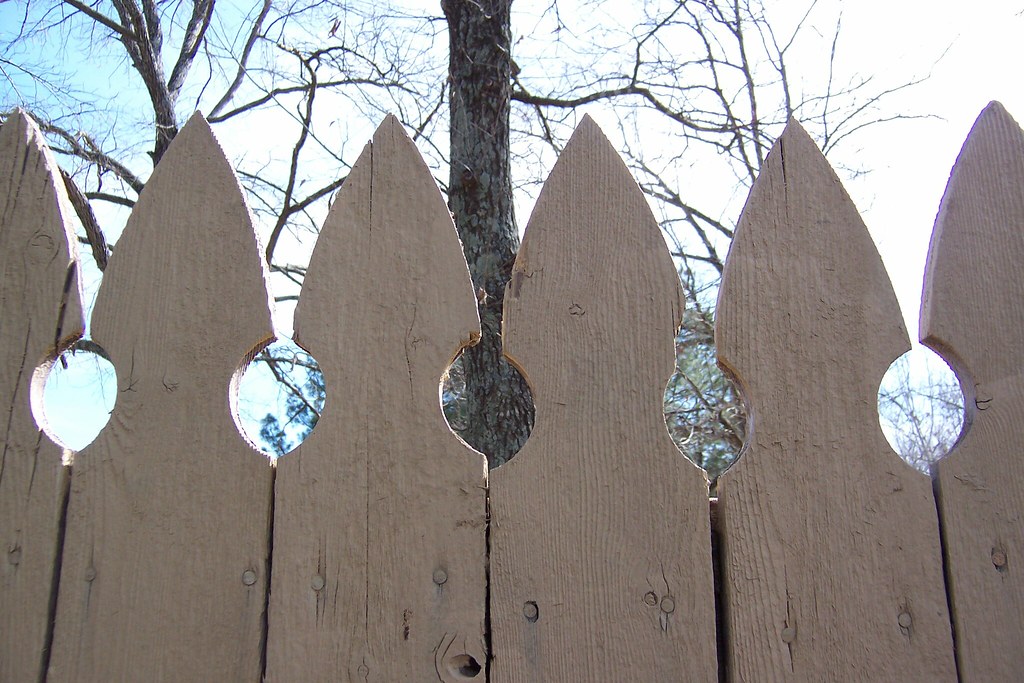 After about six months and many stressful days when no work could be done my 200 foot long privacy fence is done! What a relief. We mainly put in the privacy fence to keep the dogs inside the yard but do you know the evil dog known as Lady has still tried to jump this 5-6 foot tall fence? When that didn't work she has tried to go under it. Sigh. Well, it's done and what a big relief as garden season is in full swing and I've been pretty busy with plants lately.
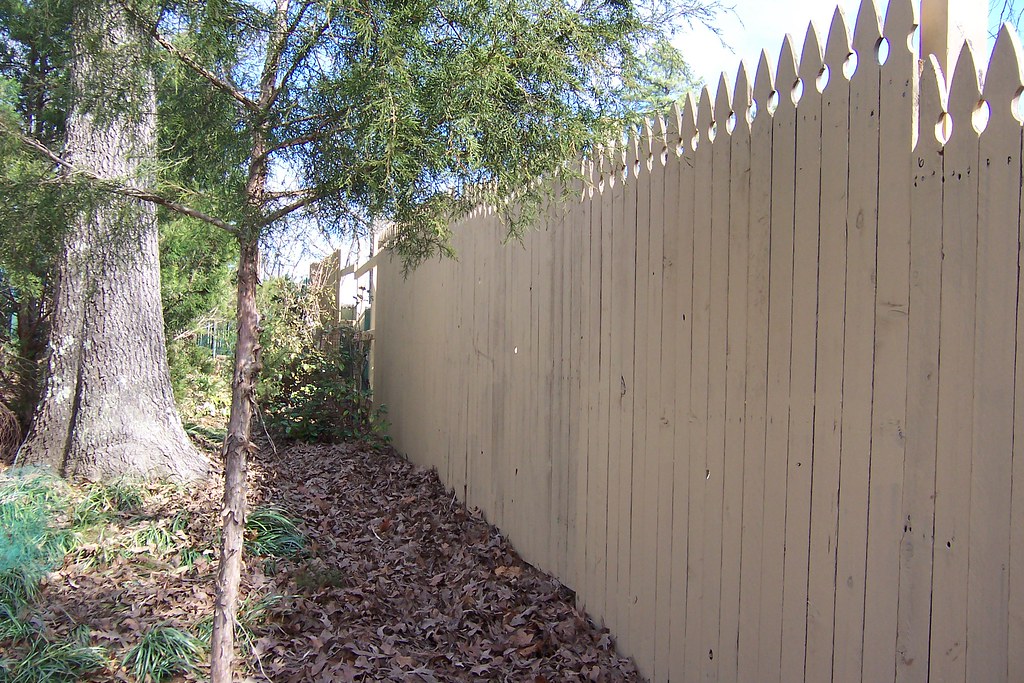 I am still fixing the going under part with the dogs by placing wire in all gaps but for the most part this fence will keep the dogs in and give me a good sense of enclosure; something I love in a garden.
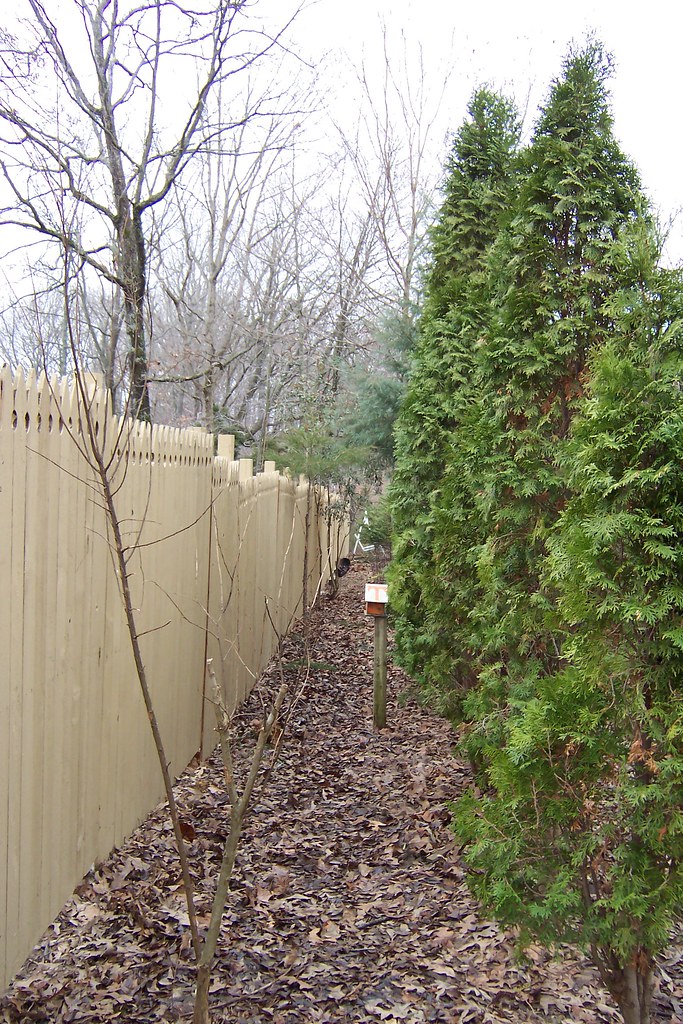
The area around the fence is a bit of an enclosed wooded area and I just love the fence as a wall alongside this part of our property. Here you can see toward the frontyard (east) and a section of the fence still in progress. It has been completed since this photo was snapped.
I am still fixing the going under part with the dogs by placing wire in all gaps but for the most part this fence will keep the dogs in and give me a good sense of enclosure; something I love in a garden.
The area around the fence is a bit of an enclosed wooded area and I just love the fence as a wall alongside this part of our property. Here you can see toward the frontyard (east) and a section of the fence still in progress. It has been completed since this photo was snapped.
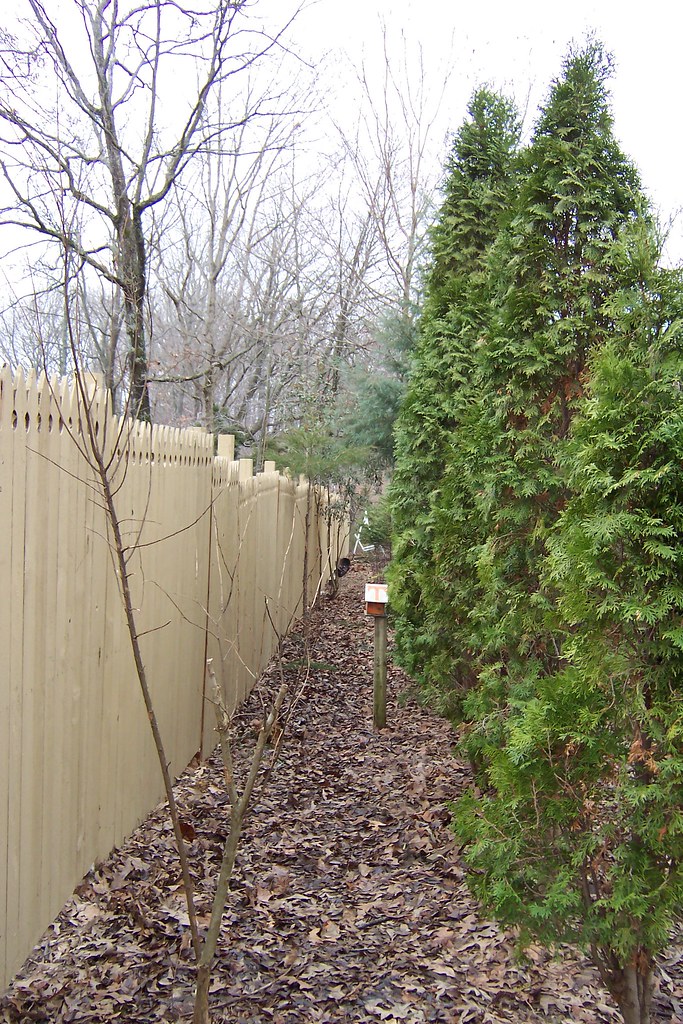 We initially were not going to put up a fence on this southern side of our yard due to the fact all the landscaping took care of privacy and also due to the fact I did not wish to lose the sun. But when I came across a deal too good to be true I jumped on it. That plus the fact Lady would disappear rather frequently. I found an ad on Craig's List that said 26 panels of privacy fence for $100. The only problem was the panels had been sitting out in the elements for at least a year and who knows how old the fence was initially. The fence had deteriorated a bit which meant I had my work cut out for me. The above view of the fence is looking west toward the pond and the side of our garage. I'll be talking about the large arborvitae hedge you see on the left in this Friday's post.
After pressure washing every single fence panel and staining all the panels with a 'Desert Sand' solid color fence stain from BEHR paints, I had a fairly workable fence. I dug the 35 holes, mixed the 40 sixty pound bags of concrete, set and plumbed all poles, and attached all panels. What a job. Okay, I have to admit it, Mr. Fix-it dug four holes and set four posts-thanks baby! The rest was up to me and since I am home most of the time it made sense. My issue was the weather. It was impossible to pressure wash and stain panels in the cold of the winter. Brrrr! But I slowly plodded on and got all of the panels up-a mere 32 feet short of the total distance. That was okay because I prepared to be a bit short and was happy the initial $100 got me as far as it did. I built the last five panels from scratch with a little help from Mr. Fix-it (he is home all the time now due to being on final vacation from the Army). And the fence is done!
The total cost for this nearly 200 foot long fence was about $635: 20% of what it would've costed new and professionally installed. The breakdown of costs is as follows: $100 for 26 fence panels, $30 for some 2x4s to replace damaged ones and to build the portion of the fence I had to build, $75 for the dog eared pickets I had to purchase to build my portion of the fence, $25 for nails, $125 for the 4x4 posts (I only bought about 24 posts because my neighbor gave me 9 and I had a few here in the gardens already) and about $280 for the solid color stain. It sounds strange I spent so much on the stain but I tell you the stain makes a big difference on any outdoor project you do. Not only does the solid color stain make all wood look good, but it also protects the wood and increases the life span of the fence. If you ever get the chance to rehab and salvage an old privacy fence give it a try but be sure you know what you are getting yourself into....
We initially were not going to put up a fence on this southern side of our yard due to the fact all the landscaping took care of privacy and also due to the fact I did not wish to lose the sun. But when I came across a deal too good to be true I jumped on it. That plus the fact Lady would disappear rather frequently. I found an ad on Craig's List that said 26 panels of privacy fence for $100. The only problem was the panels had been sitting out in the elements for at least a year and who knows how old the fence was initially. The fence had deteriorated a bit which meant I had my work cut out for me. The above view of the fence is looking west toward the pond and the side of our garage. I'll be talking about the large arborvitae hedge you see on the left in this Friday's post.
After pressure washing every single fence panel and staining all the panels with a 'Desert Sand' solid color fence stain from BEHR paints, I had a fairly workable fence. I dug the 35 holes, mixed the 40 sixty pound bags of concrete, set and plumbed all poles, and attached all panels. What a job. Okay, I have to admit it, Mr. Fix-it dug four holes and set four posts-thanks baby! The rest was up to me and since I am home most of the time it made sense. My issue was the weather. It was impossible to pressure wash and stain panels in the cold of the winter. Brrrr! But I slowly plodded on and got all of the panels up-a mere 32 feet short of the total distance. That was okay because I prepared to be a bit short and was happy the initial $100 got me as far as it did. I built the last five panels from scratch with a little help from Mr. Fix-it (he is home all the time now due to being on final vacation from the Army). And the fence is done!
The total cost for this nearly 200 foot long fence was about $635: 20% of what it would've costed new and professionally installed. The breakdown of costs is as follows: $100 for 26 fence panels, $30 for some 2x4s to replace damaged ones and to build the portion of the fence I had to build, $75 for the dog eared pickets I had to purchase to build my portion of the fence, $25 for nails, $125 for the 4x4 posts (I only bought about 24 posts because my neighbor gave me 9 and I had a few here in the gardens already) and about $280 for the solid color stain. It sounds strange I spent so much on the stain but I tell you the stain makes a big difference on any outdoor project you do. Not only does the solid color stain make all wood look good, but it also protects the wood and increases the life span of the fence. If you ever get the chance to rehab and salvage an old privacy fence give it a try but be sure you know what you are getting yourself into....
in the garden....
Words and Photos Property of In the Garden Blog Team, In the Garden
 Two of the three are not looking so well now.
 This Arborvitae Green Giant started out as a 15 gallon pot of beauty at the bargain price of $15.00. It is now turning brown as if on fire and dying on me! I have brushed out the dead and am left with a sparse tree. Sigh...
 This one is smaller because it is not a Green Giant but rather a Leeland Cypress. It was a 10 gallon potted tree at the cost of $10.00. The poor thing looks so puny now. Sigh...
 The third in this group is another 15 gallon Green Giant and it is happy as can be!