Showing posts with label Daylily Beds. Show all posts

Friday, June 24, 2016

A Walk Around Tiger Way Gardens Part II


DSCN5396
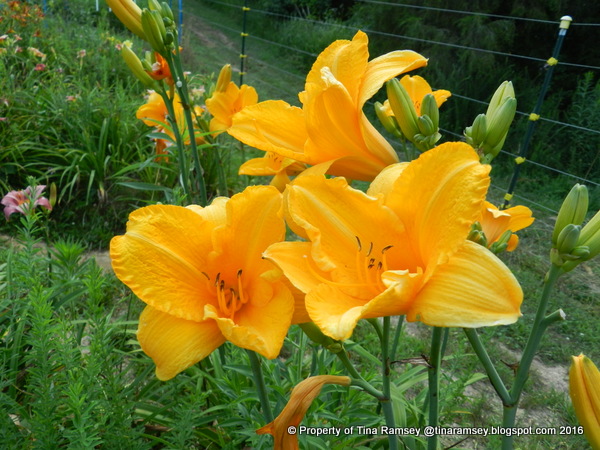
Continuing on with our walk around part of Tiger Way Gardens we find ourselves in the orchard. Here is where most of the daylilies, the fruit trees, hydrangeas, small fruit, and the chickens are in relative safety from marauding wildlife because they are behind a seven strand electrical fence (noted in the background behind these daylilies). I don't always need to turn on the electric fence for it to be a good deterrent but Mr. Fix-it and I recently found some peaches that had been devoured. That caused me to turn on the electric fence and guess what? It worked!
DSCN5387
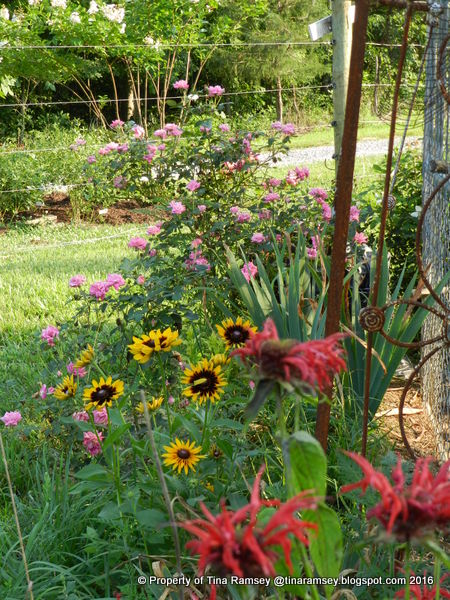
Outside of the chicken coop we find some bee balm, Gloriosa daisies and pink knockout roses. There are also a bunch of lilies and other plantings here. I am trying very hard to at least mask the smell from the girls (and the Boss) and if I can't do that then making the area pretty is a consoling fact.
DSCN5389
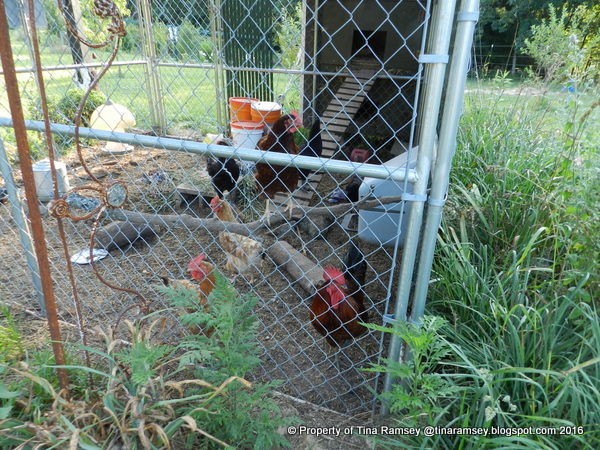
The chickens! We now have six hens and one rooster. Two of hens are golden comets, one is the original Rhode Island Red, the rooster (named The Boss) is a Rhode Island Red, and just this February I purchased three baby Australorpe chicks. The new chicks are now full grown and are the black ones. I did a lot of research on chickens and think the Australorpes will be a good fit for us. I do really enjoy chickens but some days I don't get any eggs between the hens eating their own eggs and them just not laying regularly as they age. It is frustrating. Now that I have been successful with chicks I may add one or two yearly just to keep up the flock. We really love fresh eggs in the Ramsey household!
DSCN5391
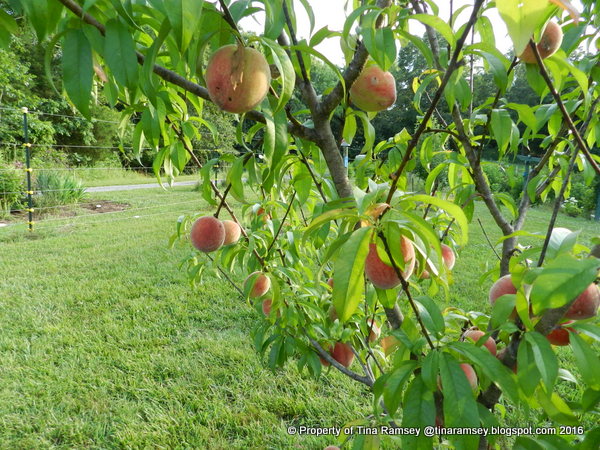
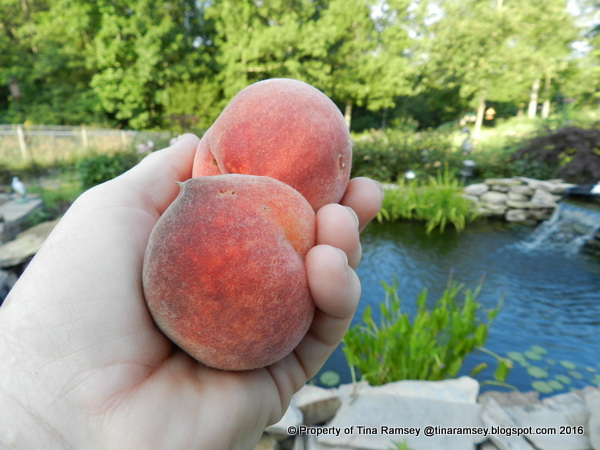
The orchard was planted three years ago come November. I remember it well because it was very cold. I believe this peach tree to be the Early White variety. I can't believe it produced so many peaches after less than three years. We have one other peach tree with peaches too. It's cultivar is Intrepid. We have also harvested some tart cherries and plums from the fruit tree part of the orchard. Right now we are currently picking blueberries and raspberries. The blackberries will be coming on soon.
DSCN5394
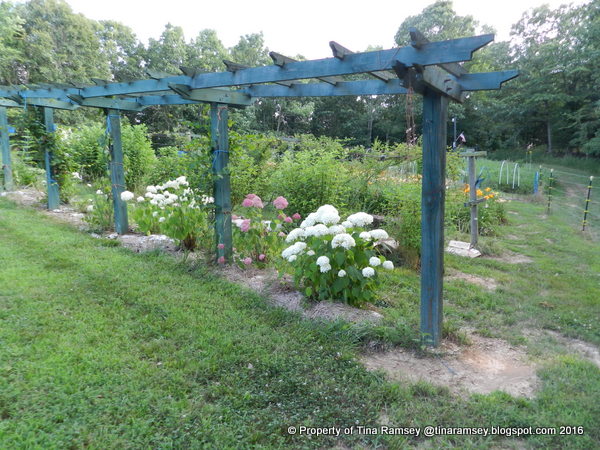
The grape arbor with its hedge of 'Annabelle' hydrangeas and one lone surviving 'Bella Anna' is looking good. Growing up the arbor we have a 'Concord' grapevine, two muscadine grapevines, and one hardy kiwi vine. All of the grapevines are loaded with grapes. We are pretty excited about them. The hardy kiwi is not yet bearing.
DSCN5395
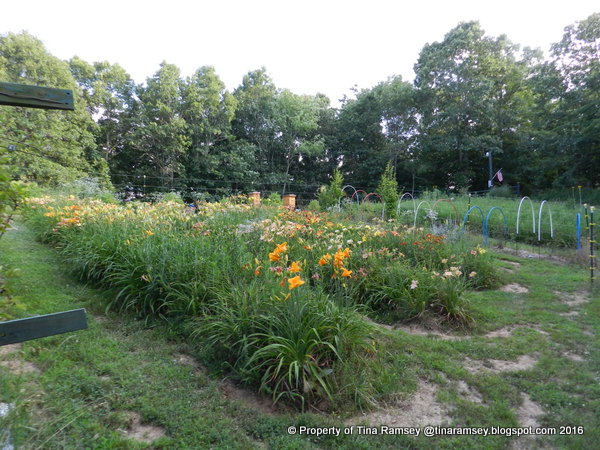
The three daylily beds are in full bloom. This picture really does not do them justice as the flowers and total effect is stunning. I have not weeded these beds at all this year and they really need some attention although the weeds are not too awfully visible in this picture. Thank goodness!
DSCN5416
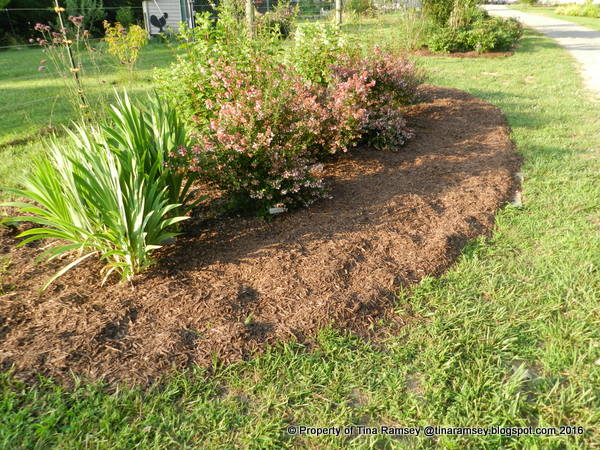
This butterfly garden started life as an 'Orange Garden'. I am transitioning it a bit still focusing it on butterflies. The straight leafed plant on the left is Chinese blackberry and it is about to bloom. The frilly flowered shrub is Abelia 'Raspberry Profusion'. The swallowtails love abelias! This is a popular area this time of the year. Behind the abelias are two 'White Diamond' hydrangeas with a new addition from Proven Winners of 'Blue Diddley' Chaste tree. I am very excited to see how this shrub does because chaste trees have a beautiful blue flower that blooms in the summer and the blooms are beloved by butterflies. This particular cultivar is supposed to stay relatively small so that it can fit into garden easily. This fall I will probably add some sedum and coneflowers or rudebeckia to the front of the garden for some perennial interest.
DSCN5418
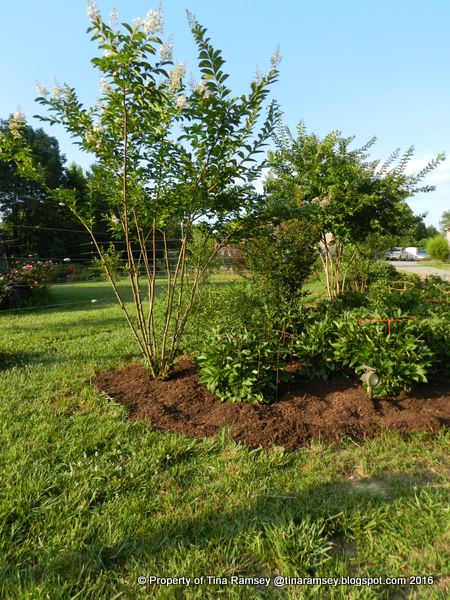
Right next to the Orange Garden is the Peony Garden. The peonies were spectacular in May but they have all gone by now. The five crepe myrtles I dug up from my old garden are now beginning their bloom period and look great. I find that bees really like crepe myrtle blooms and for me that is an added benefit to the crepes since I try to garden for pollinators.
DSCN5430
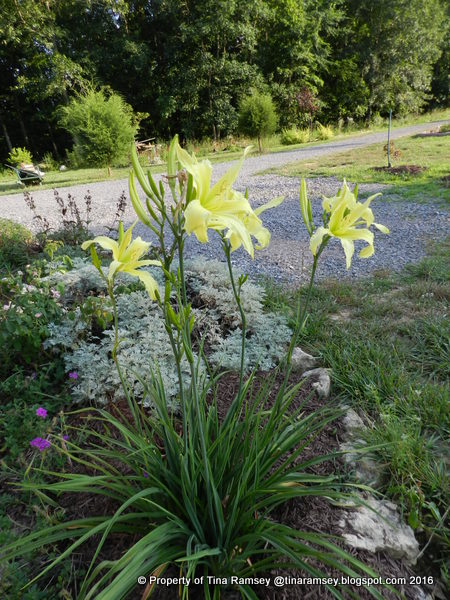
These lime green daylilies were a gift from my friend Angie of Angie's Gardens.  They look lovely in an island garden right next to our driveway near the house.
DSCN5441
Here are a few of the peaches we have been picking. For Mr. Fix-it and I we find the ability to walk outside our door and pick our food to eat right then and there a most amazing thing. I will try to get a vegetable garden post up this month. We've harvested a bunch of potatoes and onions and even one tomato so far and some heads of cabbage. Yum!
DSCN5442
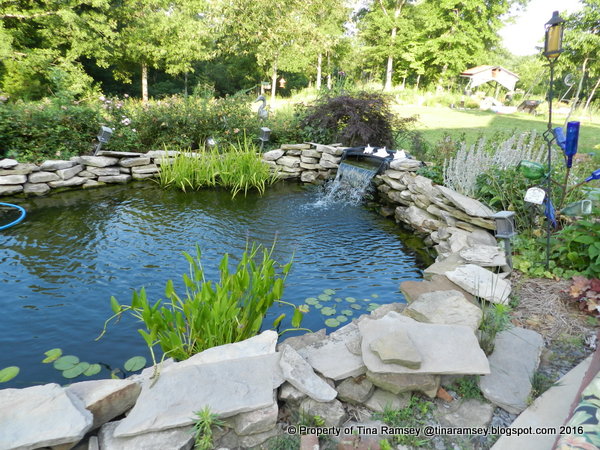
One last picture of my koi pond. I simply love this spot on a hot day. The sound of running water helps to cool things down here in Tennessee. Speaking of which, I will be giving a presentation to the Perennial Plant Society of Middle Tennessee at Cheekwood Botanical Gardens on July 19th at 7:00 PM. Be sure to come on out and show me some support! I'll be talking about how to keep cool....
in the summer garden.....
Words and Photos Property of In the Garden Blog Team, In the Garden

Friday, October 11, 2013

The Field: Before and Afters and Hearts a Burstin-with Joy


DSCN9132
Hi you all! I've been pretty busy working on the land. Farmer Fix-it was laid off a few months back due to his employer losing the government contract. He has been patiently awaiting a callback; which so far has not come. The great news is he and I are able to spend all of our time together (and I mean all) and we usually spend it working on our land. We've accomplished a lot in the eight months we have owned the property. Our goal is still to build our new home on the land in the very field I will showcase in this post. In the meantime the garden and orchard and discoveries are coming along. I consider that we are very lucky to be able to fully explore our land; which is a treasure; and to be able to work on our gardens prior to the busy time of building and moving. One recent discovery (among many which I will share as I am able to) is the fact that a sweet native tree is growing on our land. It is called Euonymous americanus, also known as Hearts a burstin.

I have tried for several years to get this small tree going in my current garden. I actually had three small saplings that were very s-l-o-w-l-y growing. I gave one to a friend and still have the other two; which will probably make the trip to my new garden soon. It is important to have a fairly big tree because in my experience the small ones do not really make a big show if they even bloom. This picture does not show the bloom but in fact it shows the seedpod. This is the unique thing about hearts a burstin. Those red berry like seeds stop you in your tracks! And they persist on the tree for a long time so they are a very ornamental feature of this tree. I am most excited about finding this plant on our land and I will share with you some more great finds soon!
DSCN5735
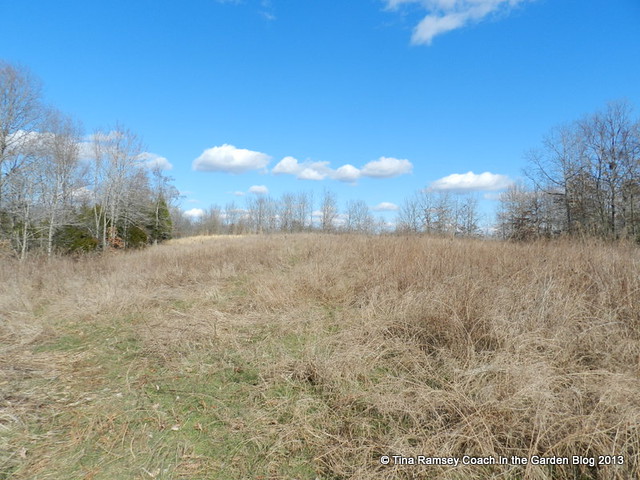
When we purchased our land the land had been pretty much left alone for many years. A field that had once seen better days was completely overgrown with trees, blackberries, and all kinds of unmentionables. Farmer Fix-it and I have worked very hard to clean out all of the mess. The trees have been a bear to clean up because some had trunks as big as 5-6" in diameter. We actually had to use a chainsaw to take them down. There are still many stumps in this area but we are slowly working on the situation and it is getting better by the day. The above picture was snapped February 16, 2013. While it does not show many trees in this view, further down the field and to the right there are trees. This area was a bit packed down by the deer and so was spared the worst of the growth.
DSCN7593
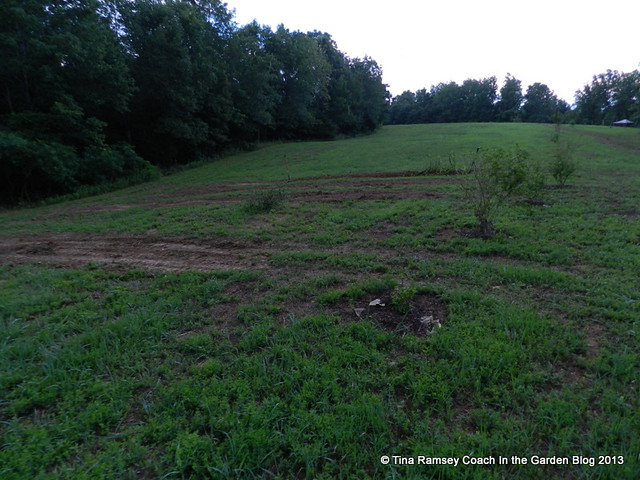
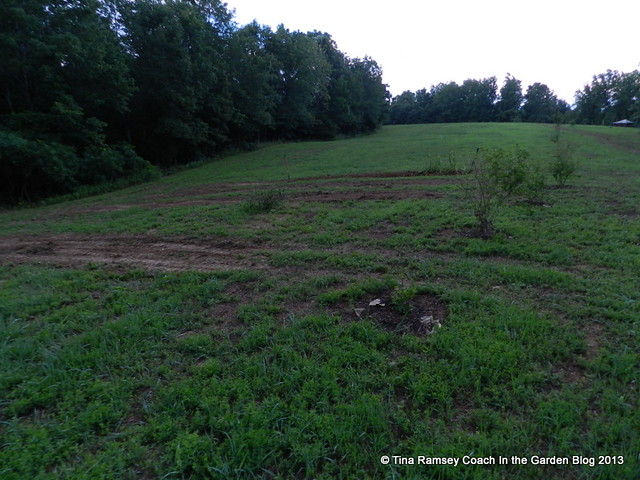
This picture was taken July 1st. At this point the field had been cleared, a dozen Paniculata Grandiflora hydrangeas have been planted along the driveway (the right side of this field out of the camera view), the daylily beds have been boxbladed in preparation for me to turn the soil, and the field is looking fairly fresh with a cover of green weeds, mixed with some grass.
DSCN9141
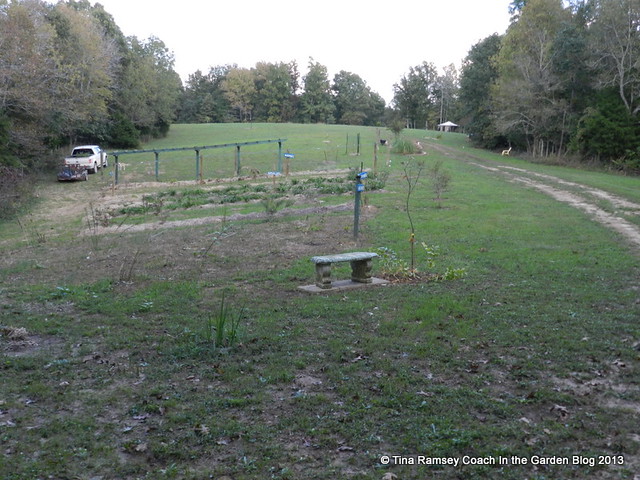
This is how the field looks today. We have installed a grape arbor, raspberry/blackberry trellis, the daylily beds have been planted, a bench was installed under a small Cornus kousa, and planted grass seed. Our orchard area is starting to take shape in the background. We recently aerated the area and applied 400 pounds of pelletized lime. Our soil tested a pH of 5.3 which is too acid for most orchard trees so the lime was necessary. We'll retest the soil in the spring and adjust as needed then. We expect the majority of our fruit trees to come in next month so our focus has been getting that area ready. Once the orchard is planted we will finish fencing it all to keep the deer from eating the small trees. We plan to put the house in the far background on the small rise you see.
DSCN9149
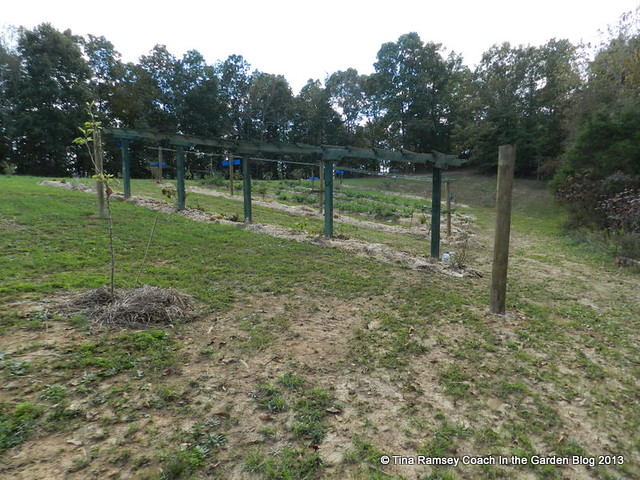
Here is another view looking west toward the driveway and up the slight hill. Here you can see one of three pear trees we planted a few months ago. I pruned it quite a bit in anticipation of establishing a good growing structure for future fruiting. For some reason the deer do not eat the pear trees but devoured a plum tree we planted. There is also a large round brown pole as part of the new orchard fence in place and ready to be strung with an electric fence. To our right is the woods and the pond area. We have been busily working on clearing the area around the pond as well. So far dozens of trees have come down. These include trash trees like black willows, elms, and maples. Okay, maybe not all trash trees but when they grow in the pond and take over the pond, these trees become nuisance trees. We left oaks, sourwoods, dogwoods, Eastern hophornbeams, some maples, cedars, and a gum tree or two. I'll perhaps post on the pond area soon as we are quite proud of the changes we are making to our land while still trying to leave it in a natural state without drastic changes....

in the garden....
Words and Photos Property of In the Garden Blog Team, In the Garden

Wednesday, July 10, 2013

Making Some New Garden Beds Using a Tractor, a Box Blade, and a Shovel


DSCN7644
Hi everyone! I have some exciting news to share about our farm and my new garden--it is coming along! Above is a picture of the first daylily bed and I can't tell you how excited I am to have it nearly done! The journey was long to get to this point though.
DSCN7593
Mr. Fix-it and I do not yet have a tiller or plow for our tractor but we do have a box blade. Box blades work great to level out uneven areas and as they level they tear up the sod and soften the soil. I had an idea the box blade might work as a tiller and I was right! I asked Mr. Fix-it to dig me four trenches (new gardens) with his box blade. Each trench is about four feet wide by about 30-35 feet long. The above picture was the result after Mr. Fix-it finished the box blading. The sod has been torn up and mostly removed and it looks as though there are trenches here.
DSCN7594
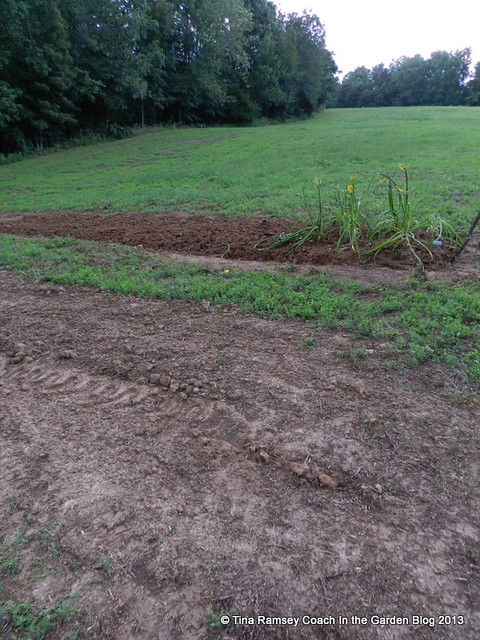
Now the fun part comes in and it is my favorite part of gardening (besides planting)! I hand turned all of the soil in the new beds using my shovel. Look at the difference it made! The trench closest to you has not been hand turned but the one further way has already been worked and I planted some of my favorite daylilies in this bed. The soil is now nicely raised, tillable, and workable for planting--plus almost all the roots and weeds have been removed!
DSCN7595
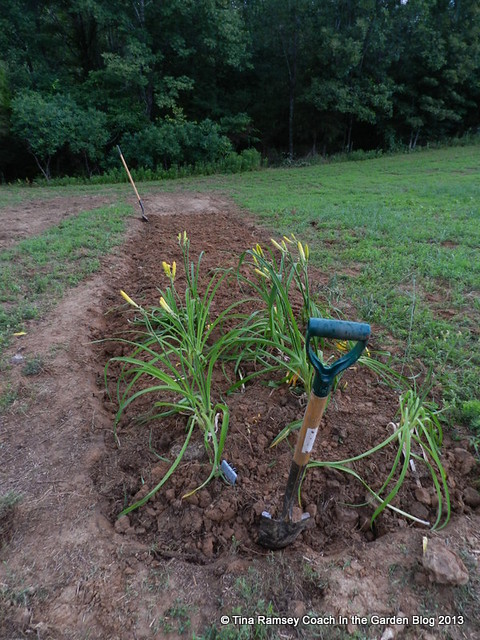
Here is another view looking north toward the pond. I slightly trenched the edges of this bed to make mowing close a simple thing. The blade simply cuts all of the grass but does not go into the bed due to the trench. Can you see how the bed is now raised up a bit? The soil will settle back down but turning the soil enabled some air to reach down into the soil and made the soil plantable for me. 

After I turned this whole bed (it took me several hours), I added my amendments, planted the daylilies, then mulched with newspapers and wheat straw. Since I am trying very hard to be organic I added Greensand (I like its soil conditioning properties for heavy clay soil and it provides potash), and cottonseed meal (for nitrogen) as my soil amendments. I wish I had a ready source of composted manure as that would be even better but in my past experiences this is a good way to start a garden. Mulching with the paper and straw will, over time, add the necessary organic matter to the garden bed. My soil test told me my soil is fine, though a bit on the acid side (pH 5.3) and low in organic matter. Our field was at one time farmed so it is fertile but in my experience farmers don't use a lot of organic matter so the fact that my garden areas are low in organic matter is not surprising. It won't take me long to get them up to par. My digging told me there are some parts of this field that are  waterlogged. There are many underground streams in the area of our farm so the water is to be expected. Hence the turning of soil and Greensand. Fortunately though our land has perked for septic. Step one done towards building our house.
DSCN7641
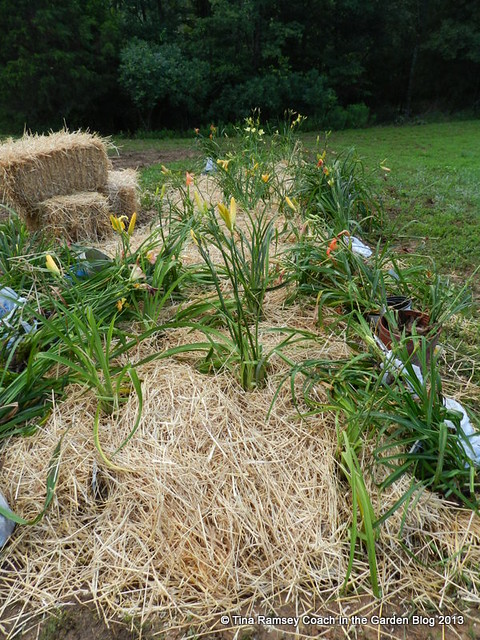
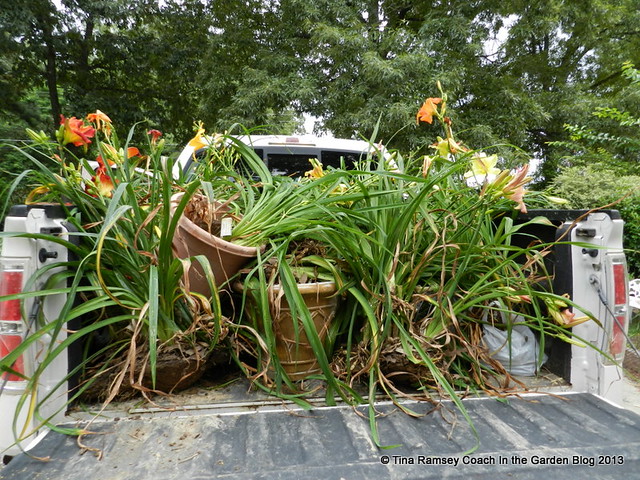
The next step was to dig all of my daylilies from my current home and garden. Geez, that was a job that took several hours and I was really shocked at just how long it all took. I must have dug over 40 types of daylilies-not even counting clumps. I don't know how they all fit in my garden to be honest with you. I had good intentions to keep the tags with each daylily and to be neat about my move, but as you can see daylilies just wound up piled upon daylilies. Sigh.
DSCN7643
Once I got to the land I began downloading all of the daylilies and do you know it started to rain?? Yeah for rain in July!@ Aside from making the work a lot cooler the rain helps the daylilies to settle in sooner. I really thought all of my daylilies would fit into one of the four beds. That was not to be as you can see I had a lot of leftovers. That meant I would have to make another daylily bed--two more to be exact. Which is not a problem but these beds were intended for fruit. Oh well, we'll just move down the field a bit....

in the garden....

DSCN7745

I guess when I started this post I thought everyone knew what a box blade was but then was recently asked what was a box blade. I thought I should post a picture of ours. Do you see the 'teeth'? These can be adjusted lower so that they will dig into the soil. The whole thing is dragged across the soil by the tractor and will scrape off some soil while dropping some soil. This tool is really good for leveling areas and also, as I have found out, for preparing new garden beds!


Tomorrow is a GREAT GARDENING EVENT not to be missed. It is the annual University of Tennessee at Jackson Summer Celebration. Don't miss it. See ya there!
Words and Photos Property of In the Garden Blog Team, In the Garden